 | |
| "Altered Beast" by Scooter Trash |

colored in by chili, thanks dude excellent work, slick as glass!!
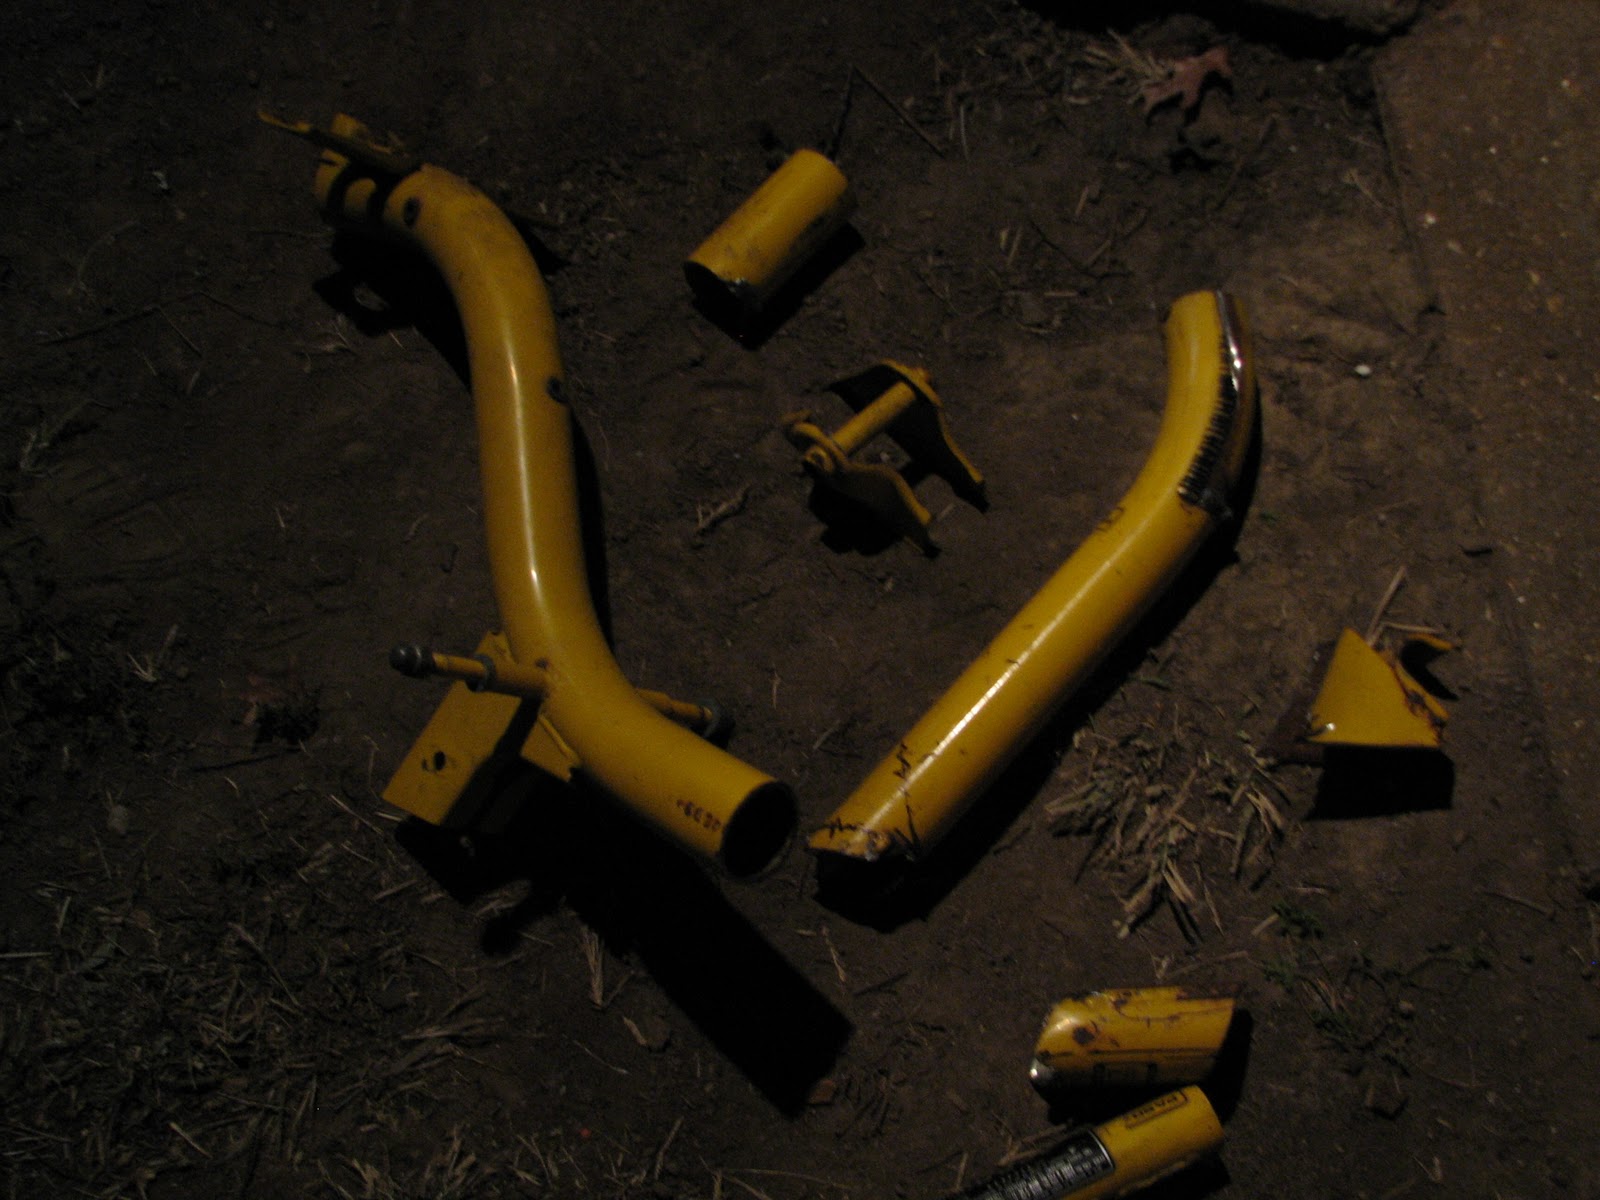
before

after

IRE Scooter Trash
St. Louis, MO
1980 Honda Hobbit
70cc malossi
super strong super stuffy crank
dio reeds
handmade reed adapter box and intake
21 phbg w/uni filter
urban express engine half ported to hobbit specs and 12v cdi
IRE Hornet 75cc Circuit pipe
TJT with dr pulley weights
started hackin' 10-29-10
finished 7-29-11
tuned pretty good 8-26-11
as in the pic ^
True story


whoops! there's more. lets back track a little


it got really cold so i brought the bike in and started working on the seat cover. i didn't know anything about sewing so momma gave me a 101. i cut some paper templates, then adjusted them, then traced'em on the marine vinyl. i'd have to say,,it's nice to make a part without noise and sparks.


that's a good start, but i really need to get the frame done. i took it back out there and tore it down again. i got the welding about 95% done.

also, i have all the engine parts together for when i get to it. more fabbin and figuring shit out which is what i like to do. + it looks neat!
 i
ii traced the rear fender curve and the frame curve onto the template to get them pieces figured out
i got the peddles back on, hooked up and working.


the engine i've been using for these mock ups is the one that came on the bike. i haven't had a chance to tear it down and rebuild it.
For the past few months me and RickEms have been swapping engine info between the Hobbit PA50 engine ^ and the one he builds and uses the Urban Express NU50. they're both honda duel variated engines that are similar in some areas and completely different in others. it's kinda strange how a company can make two different good engines the same size. so, RickEms brought over a few of his NU50 engines and we discussed the better parts of them stock. like, the no rev limit cdi.and it also runs bigger reeds.
we discovered that his flywheel, which is facing the opposite way of a hobbit, fit the taper of the hobbit crank. the problem is that the cdi unit is attached inside the cover plate and the cover plate only bolts onto the urban NU50 case half. so i started making a bracket to hold the cdi in place without the cover. i ended up not having a lot of time to focus on the project, so i sat it down.
the next time i got a chance to mess with it, i took the NU50 case half and put it together with the PA50 half and looked at how they lined up. it'll work!
i put the bearings on the hobbit crank and had it ready.
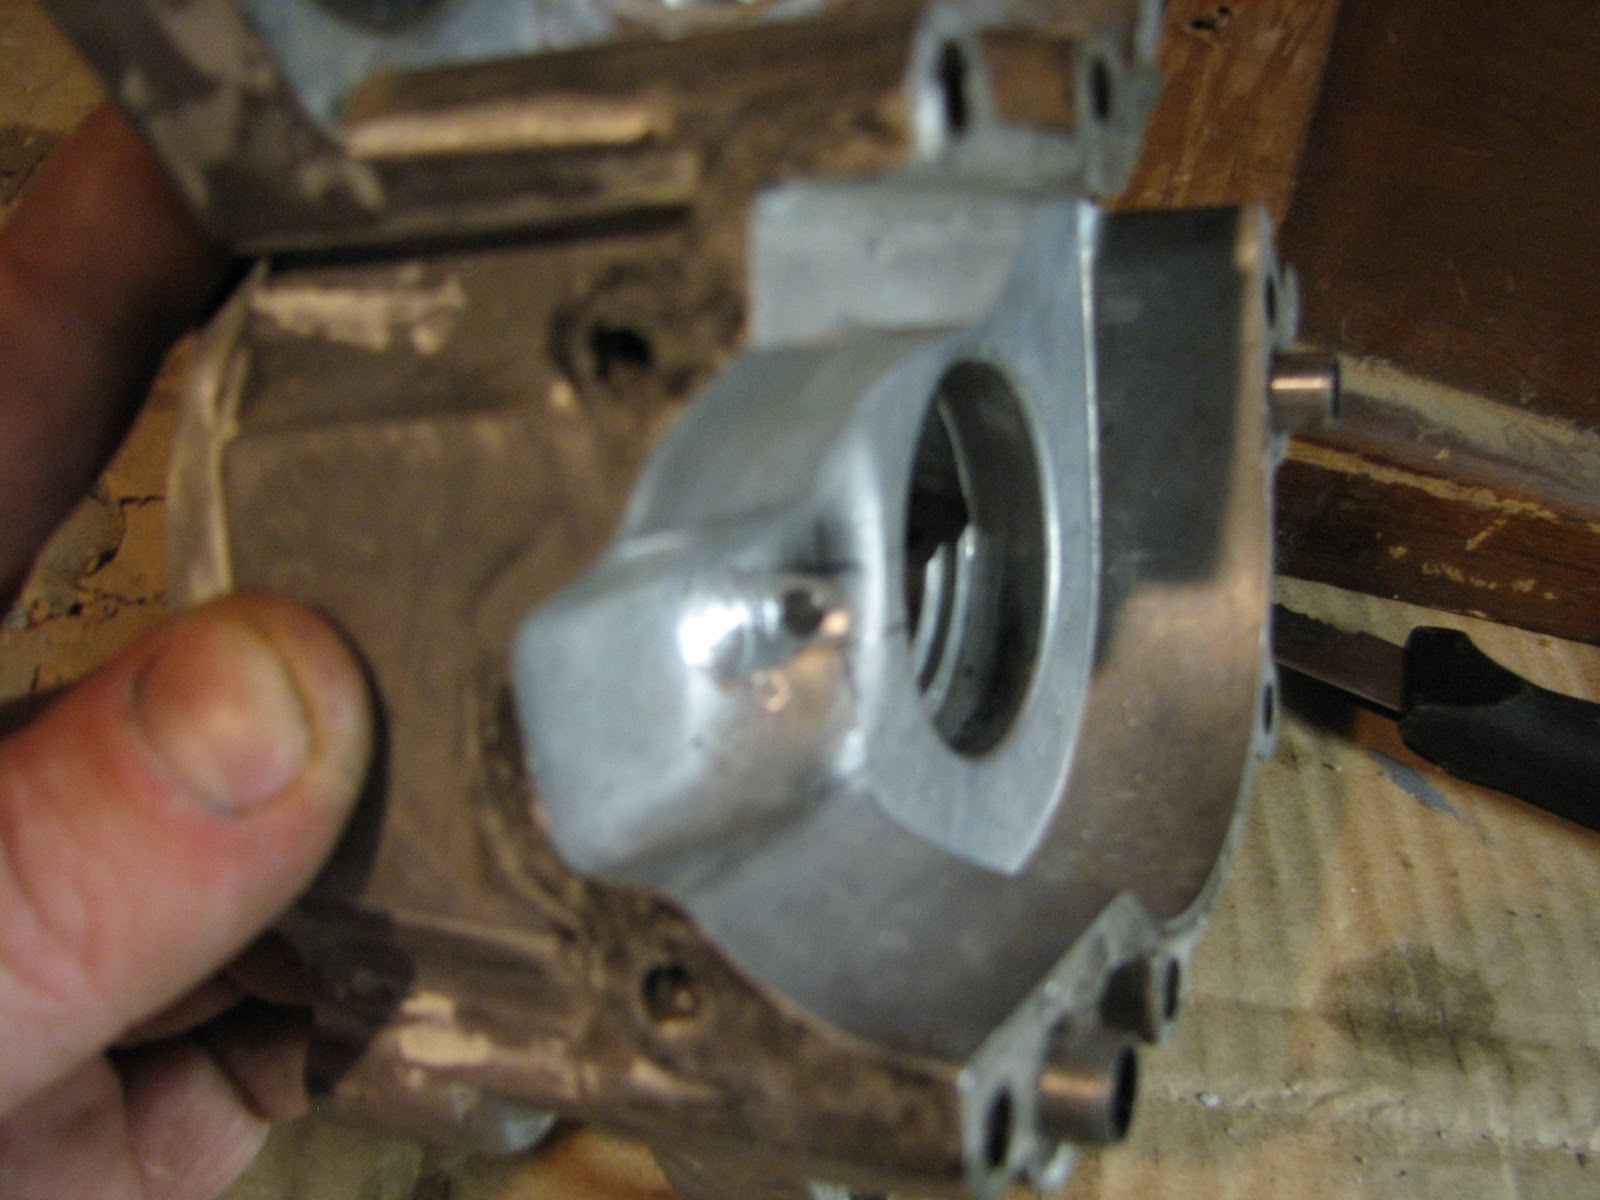
this is the Urban Express NU50 case half that i got from him
here's what happened...

i cut and removed a 3/8" x 2" chunk out of the case where the top transfer meets the cylinder boost port.

i made a plug to cap the hole in the engine where the oil injector was. it used to stick out like a pipe but i cut it off and grinded it smooth. i put some jb weld around the lip of the hole and drove it in with a hammer, then sealed it over with jb weld


then i drilled a hole for the bearing to get lubed by the premix. i dremmeled a little notch above the hole. i guess it acts like a funnel to catch the oil and get it in there. the hole was already on the hobbit case half from the factory so i just copied the idea over to this side, which for some reason they didn't put on this engine.


it started!

it's getting good spark now and the cdi is said to have no rev limit. uhhh... good enough i'll take it!

i got this (black) piece of a dirt bike expansion chamber from RickyEms. he had it on one of his bikes for a while last year. it had a few other pieces welded to it, but i cut them off because they had huge gobs of weld all over and it was disgusting to look at. we looked at it and discussed how to make it work better. the result of the conversation was to add a longer header and a tapered cone leading into the chamber and a nicer one tapering out. i measured the proma pipe specs (the bronze colored one in the picture above). i took them measurements and made the cones out of sheet metal and 24mm i.d.steel tube (chair leg)
i hammered the back cone into shape. it took about 45 minutes per side to get it looking right.

it turned out pretty neat. i was gonna make it come out the other side but the kickstand was in the way of the header.


i got a Dio reed valve, but the cage that holds it wouldn't fit in between the frame and engine. so i made the part that i needed by cutting some 1/4" steel plate to fit the case opening

then i cut a plate to fit the reed valve


i got the engine parts made up. now i can get back to the body parts. i made the louvers in the sides of the engine covers to resemble a mustang


i made a headlight out of a harley davidson headlight, cut down and adapted to fit in the fairing


im getting ready to paint some of the frame black to accent the red


lexan helmet visor windshield

here a pic of the dio reed adapter and intake^


this exhaust was crazy loud ^ so i took the kids tee ball bat and made a muffler outta it. pics below. it works pretty good and you can hear it from 3 houses away instead of 3 blocks.


thanks for looking, it has been my pleasure to create something that i can ride and hopefully inspire others to get out there and make it how you want it. -scooter trash <3
Yeah, but where do I insert my penis?
ReplyDelete